

In this article, we will install OpenVAS as a virtual machine on Windows and manage it from a browser on Windows.
OpenVAS (Open Vulnerability Assessment System) is an open-source vulnerability scanning tool. It is used to automatically detect security vulnerabilities in computer systems, networks, and web applications. Initially derived from the open-source code of Nessus, OpenVAS has evolved into an independent project and is currently part of the Greenbone Vulnerability Management (GVM) framework developed by Greenbone.
OpenVAS scans systems for known vulnerabilities (CVEs), determines risk levels, and generates detailed reports. Scanning processes utilize signature-based tests called “Network Vulnerability Tests” (NVTs). These tests are regularly updated and expanded to include new vulnerabilities.
Thanks to its open-source nature, users can conduct security assessments on their own networks or those of their customers, analyze the results, and improve their defenses. OpenVAS is often preferred by information security professionals, system administrators, and penetration testers.
- Install VMware or VirtualBox
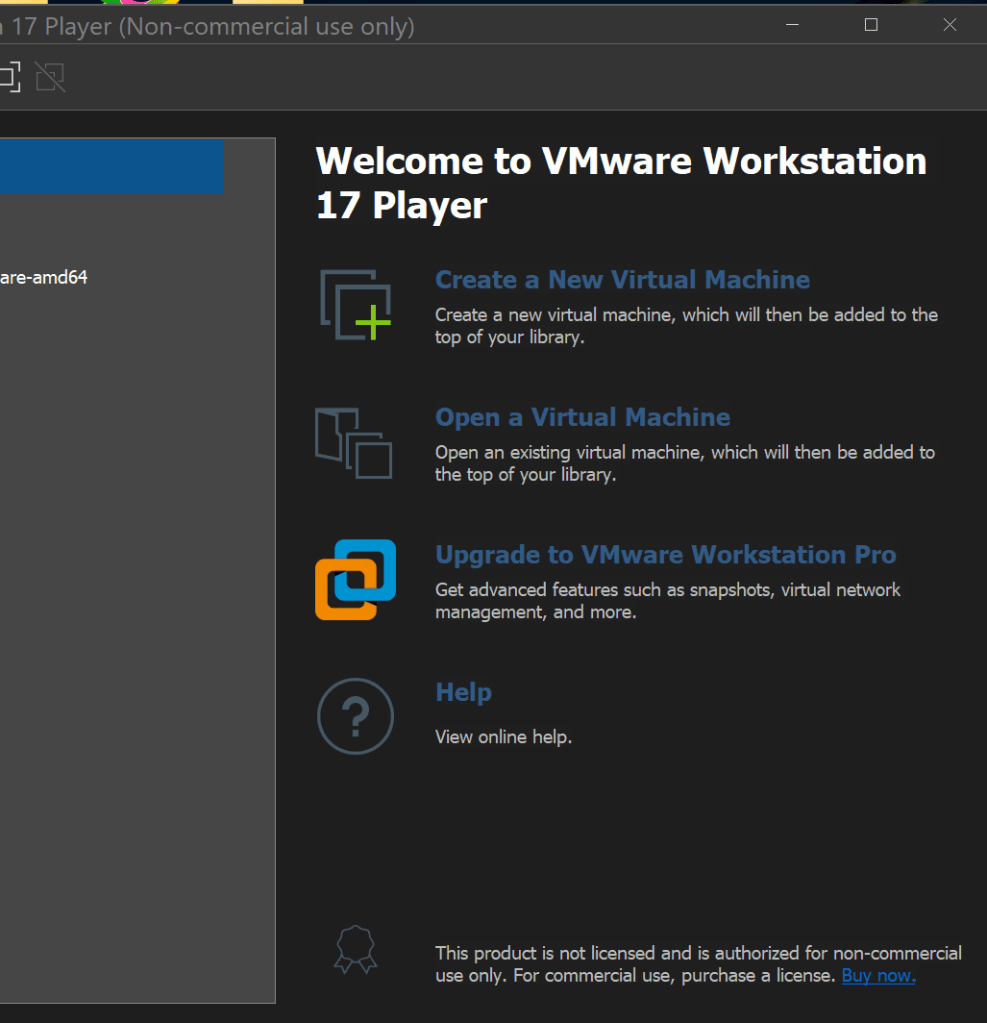
My choice will be Wmware.
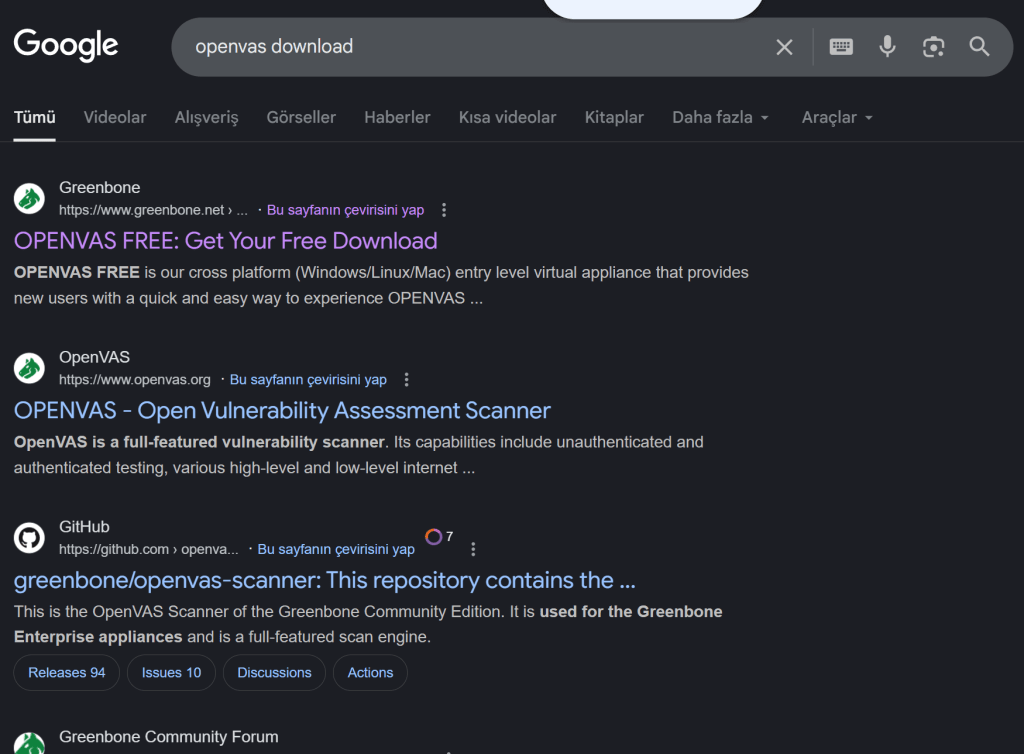
2. Download Openvas from the official site.

3. Import it into Vmware with the “Open a virtual machine” option.
Change network settings to NAT

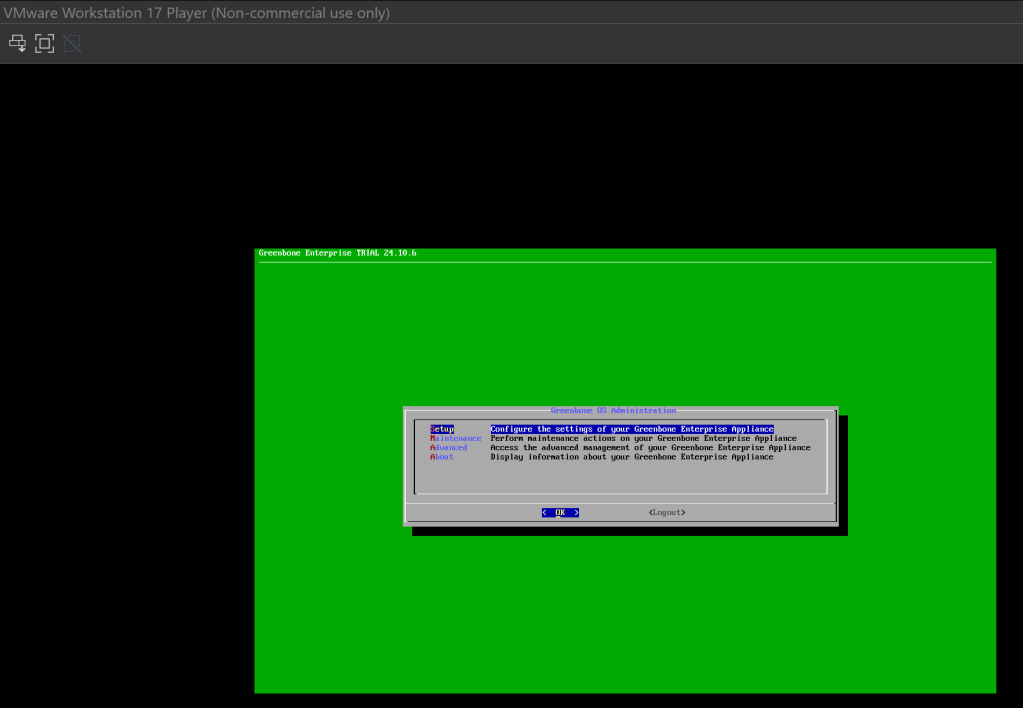
4. Run it and log in with “admin” “admin”.

You need to type as if you were using an English keyboard.
5. Follow the installation options.
At these stages, it will do a self-check to see if it is working or not and will ask you to create a user so that you can use openvas.
6. If you have reached this screen, the process is complete.
Go to the “About” section and find the IP address you’ll use to access Openvas. Then, access this address from your Windows browser, log in with the user you created, and you’re ready to go.
7. Final

